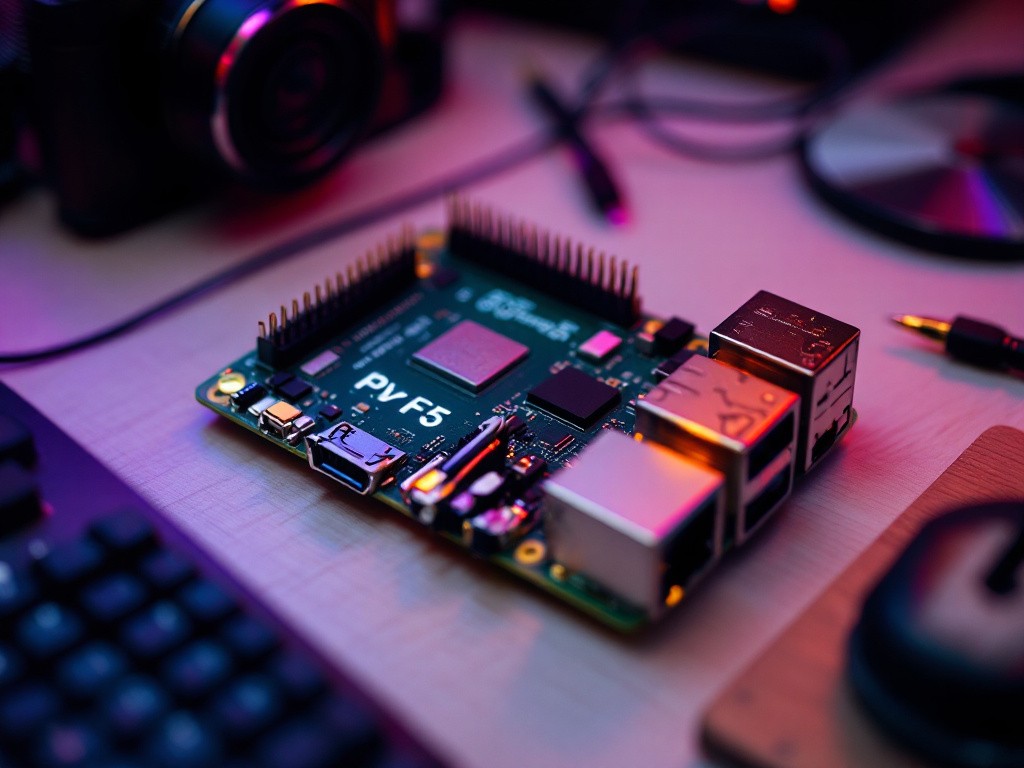
How to Factory Reset Your Raspberry Pi
In this article, we will go through the process of resetting a Raspberry Pi, also known as ‘hard resetting’ or ‘factory resetting’, and provide you with some tips on why it might be necessary. …
Updated October 8, 2024
So, you’ve been tinkering with your Raspberry Pi—maybe running a DIY smart home setup, using it as a media server, or just experimenting with code. But now, things have gone a little… awry. It’s slow, acting buggy, or maybe you’re just ready for a fresh start. Whatever the reason, it’s time for a factory reset!

In this fun, easy-to-follow guide, we’ll walk you through the reset process step by step. Whether you’re clearing out old projects, prepping your Pi for a new adventure, or handing it off to someone else, we’ll make sure your reset is smooth sailing.
Why Even Bother with a Factory Reset?
Before you dive in, you might be wondering—why reset at all? Here are some scenarios where starting from scratch is a good idea:
- Slow as molasses: Over time, that once speedy little Pi may start to lag from too much clutter.
- Software’s gone wonky: Installed one too many questionable packages? Resetting can zap those glitches away.
- Need a clean slate: Starting a brand-new project? Wiping the Pi ensures you’re not dragging along any unnecessary baggage.
- Giving it away?: If you’re selling or gifting your Pi, you definitely want to clear out all your personal stuff—nobody needs to inherit your secret pizza-ordering bot.
Prepping for the Big Reset
Before you channel your inner tech wizard, let’s get a few things in order. You’ll need:
- Backup Your Stuff: It’s like cleaning out a closet—don’t toss out the good stuff! Back up anything you want to keep.
- Tools of the Trade: You’ll need a microSD card reader, a computer, and a fresh copy of Raspberry Pi OS (we’ll get to that).
- Download the Raspberry Pi Imager: Head over to the official Raspberry Pi website and grab the Raspberry Pi Imager. It’s going to do all the heavy lifting for you.
Ready? Let’s do this!
Step-by-Step: Factory Resetting Your Raspberry Pi
Step 1: Remove the microSD Card
First things first—unplug your Raspberry Pi (no one likes surprises), then pop out the microSD card like you’re taking out a slice of cake.
Step 2: Insert the microSD Card into Your Computer
Using your microSD card reader, slide that card into your computer. Now you’re ready for some formatting magic.
Step 3: Format the microSD Card
Time to clean house. On your computer, fire up the disk management tool (Finder, File Explorer, etc.) and format the card to FAT32. It’s like wiping the slate clean!
Step 4: Install a Fresh Copy of Raspberry Pi OS
Launch the Raspberry Pi Imager you downloaded earlier. Pick your flavor of Raspberry Pi OS (feel free to go wild, but the standard one is usually good) and tell it where to install—aka, the microSD card. Hit Write and let the magic happen.
Step 5: Reinsert the microSD Card into the Raspberry Pi
Once the Imager’s done its thing, safely eject the card from your computer and slide it back into your Raspberry Pi’s waiting arms (or slot, if we’re being technical).
Step 6: Power On and Set Up
Now, power that bad boy back up! Your Raspberry Pi will start like it’s brand new, and you’ll follow the setup instructions on screen to get things rolling again. You’re basically back to day one, but with all that knowledge you’ve picked up along the way!
Bonus Tips for a Smoother Reset
- Update, Update, Update: After the reset, don’t forget to update Raspberry Pi OS to the latest version. Think of it like doing an oil change after rebuilding your car’s engine.
- Install Must-Have Tools: Depending on your project, you might want to pre-install some key software—like your favorite code editor or those quirky packages that make your Pi shine.
- Don’t Skimp on Security: Default passwords are your enemy! Change them ASAP, set up SSH keys, and consider enabling a firewall. Even a tiny Pi deserves to be safe.
FAQs: The Pi Reset Edition
1. Can I reset my Raspberry Pi without a computer?
Sorry, but nope. You’ll need a computer to reformat the SD card and reinstall the OS.
2. Will this wipe everything?
Yes! This is a full reset—your Pi will be as clean as a whistle. Make sure you back up anything important.
3. How long does this whole process take?
Usually between 15 to 30 minutes, depending on the size of the microSD card and your computer’s speed. Grab a snack while you wait!
4. Does it matter what microSD card I use?
It does. You’ll want a reliable, high-quality card (at least 8GB) to ensure your Pi runs smoothly.
5. What if it doesn’t boot up after the reset?
Check that the microSD card is properly inserted and that the OS installed without errors. If you’re still stuck, try a different microSD card or re-flash the OS.
Wrap-Up: Your Pi, Your Rules
Congratulations—you’ve successfully factory reset your Raspberry Pi! Whether you’re troubleshooting, starting a new project, or passing it on, you’ve given your Pi a fresh start. Now it’s time to get creative and see what new adventures await with your clean-slate Pi.
Don’t forget—stay updated, stay secure, and have fun with it. The Raspberry Pi is your sandbox—go build something awesome!
